If you have any question you can ask below or enter what you are looking for!
If you think inserting images into Gmail messages can be done by just “copy pasting”, then you’re wrong. Today has been a very frustrating day for me trying to figure out why some people are able to send emails with the images inserted into the email body and not as attachment. Then after some Googling, I found out that there’s a quick and easy way to do it. Thanks to Gmail Labs!
Here’s a simple guide on how you can include images in the body of your email without attaching.
1. Log in to your Gmail account. Go to Settings –> Labs
2. Look for “Inserting Images” then click Enable. Check for other cool labs that you want to enable. Once done, click the Save Changes button below.
3. Now, every time you want to insert inline images into your email body, just click the Insert Image button beside the emoticon icon.
Just remember that Gmail and other email clients do not show URL-based images in messages by default. Recipients must click the “Display images below” or “Always display images from…” to see the embedded images.
You can not directly upload a picture and use it as signature. Gmail only accepts URLs for image files, so the picture must be stored online.
To begin, you select a photo or picture from your PC, and send it to yourself in an email. You can do this by selecting Create a new email and dragging and dropping the image file in the message body field. In the CC field, enter your email address, and click Send.
Once you receive the email, open the mail, and right-click on the image file. Select Copy image URL.
Click on the Settings cog icon that is located at the top right corner of your mailbox, and scroll down to the Signature section.
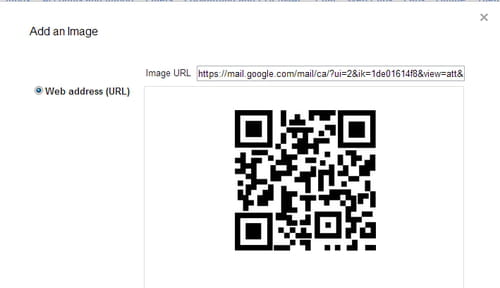
Next, click on the Insert Image option, and paste the URL of your image in the appropriate field. A preview of your image will appear, allowing you to edit the file (crop, resize) before saving it:
© 2019 livehuntz Inc all rights reserved
 1-855-925-7090